
Stylized toon shaders in Godot part 1
Learn how to create stylized toon shaders in godot and achieve Legend of Zelda like style
Stylization is a common feature in many of today's modern games. This distinct artistic approach can help to shape a game's overall aesthetic and contribute to an immersive gaming experience. One particular game that exemplifies this trend is The Legend of Zelda. Zelda doesn't merely have good lighting; it boasts a lighting design that is both striking and sophisticated. The game utilizes light and shadow in a way that enhances the visual experience, contributes to the gameplay, and helps to create a unique and captivating world.
In this tutorial we will try to create our own stylized shader with Godot.
How did legend of Zelda achieve its stylized look?
Legend of Zelda uses toon shading techniques to achieve its iconic look.
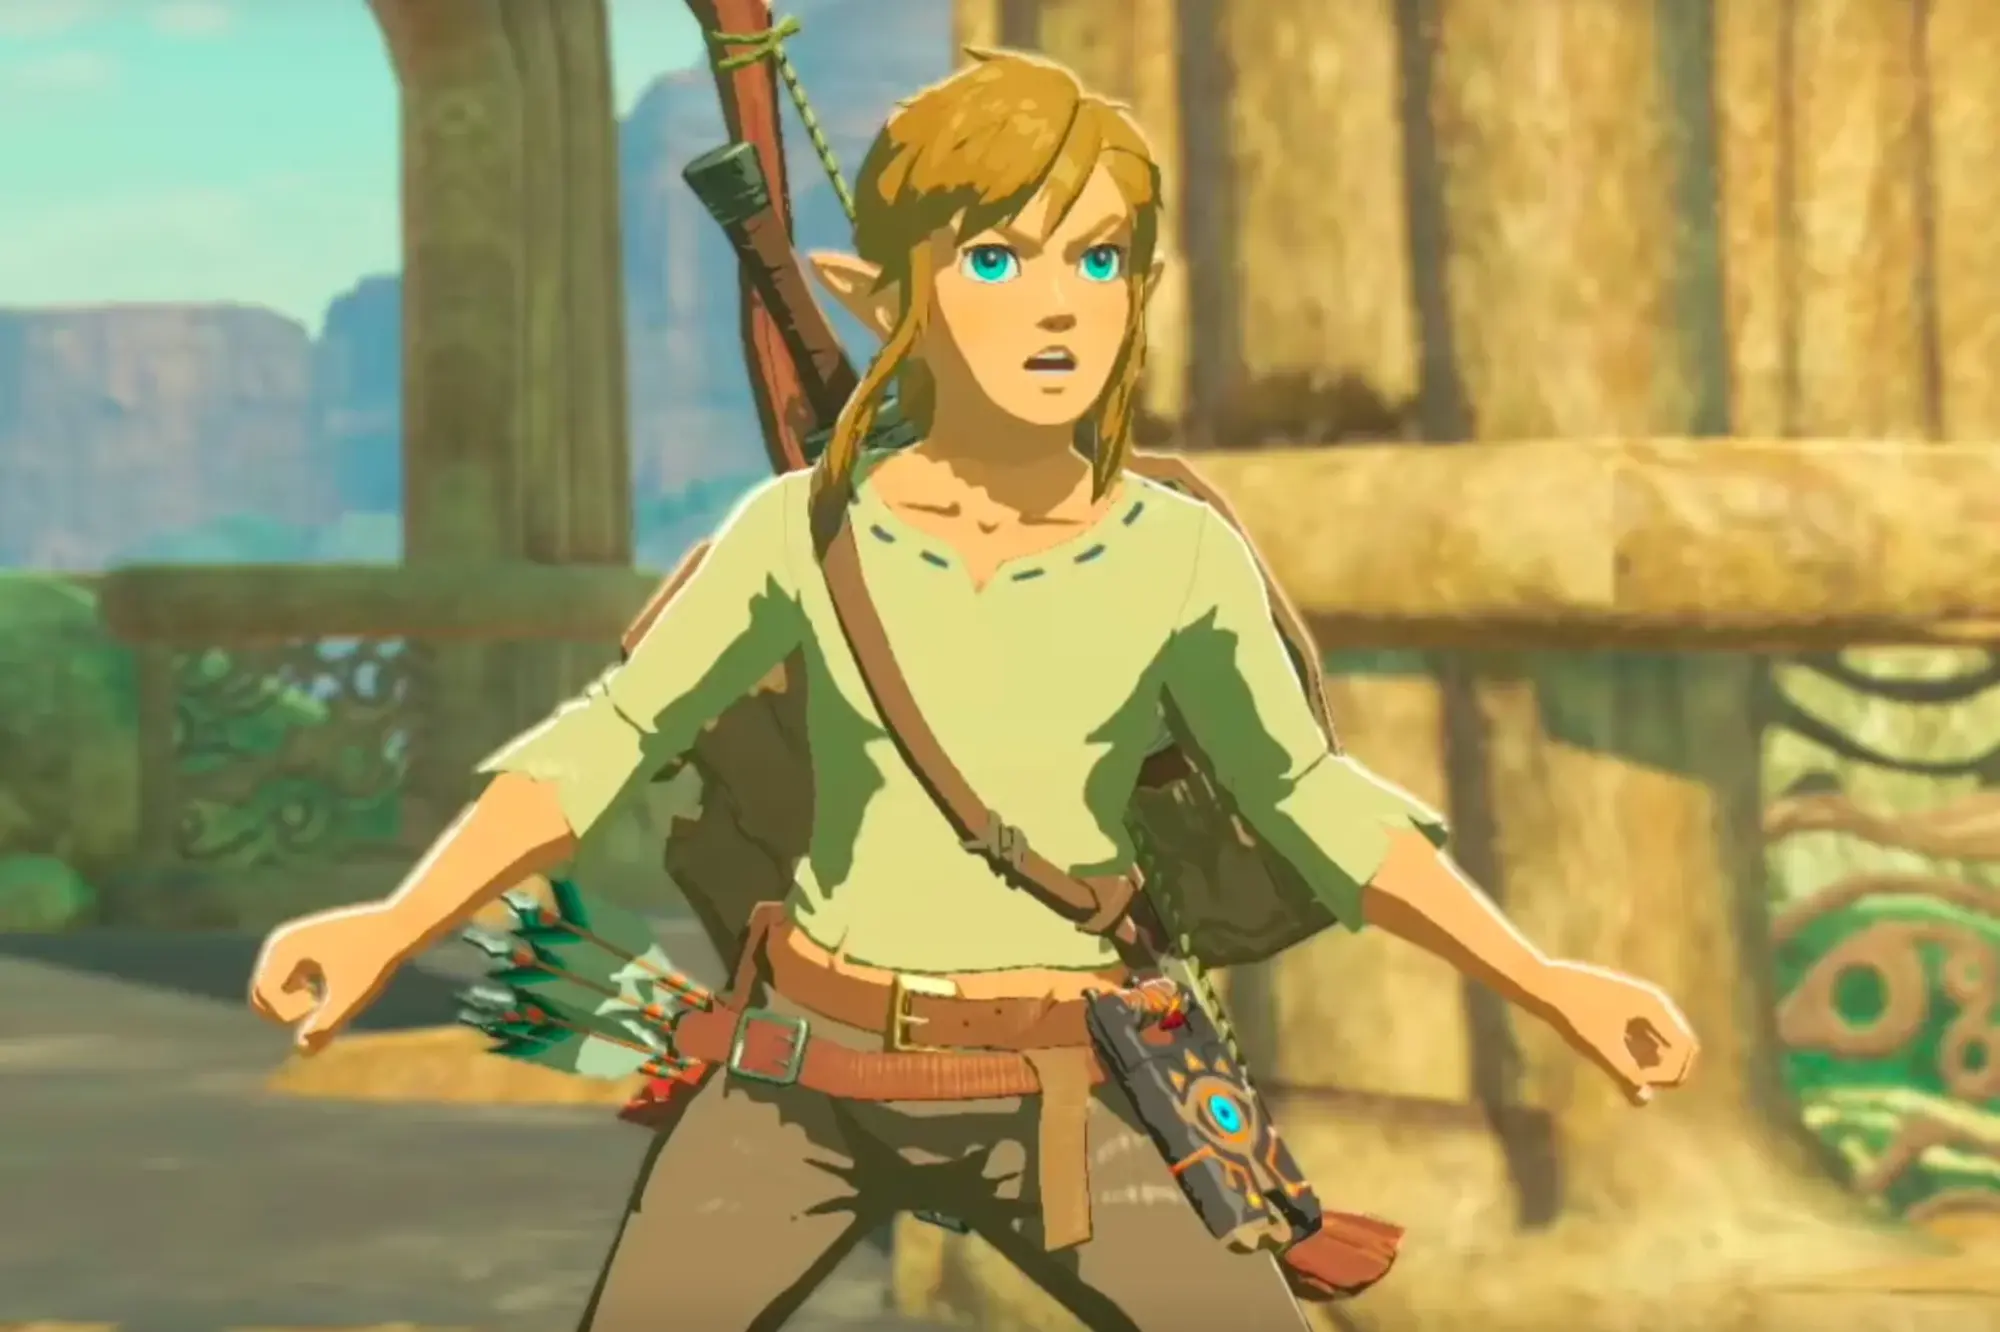 Legend of Zelda Stylization
The basic techniques are the following:
- Toon shading
- Specular highlights
- Rim lighting
We will go through each of these techniques in this tutorial.
How to create shaders in Godot?
Creating shaders is quite easy, we just need to create a resources in our project structure, like in the image below.
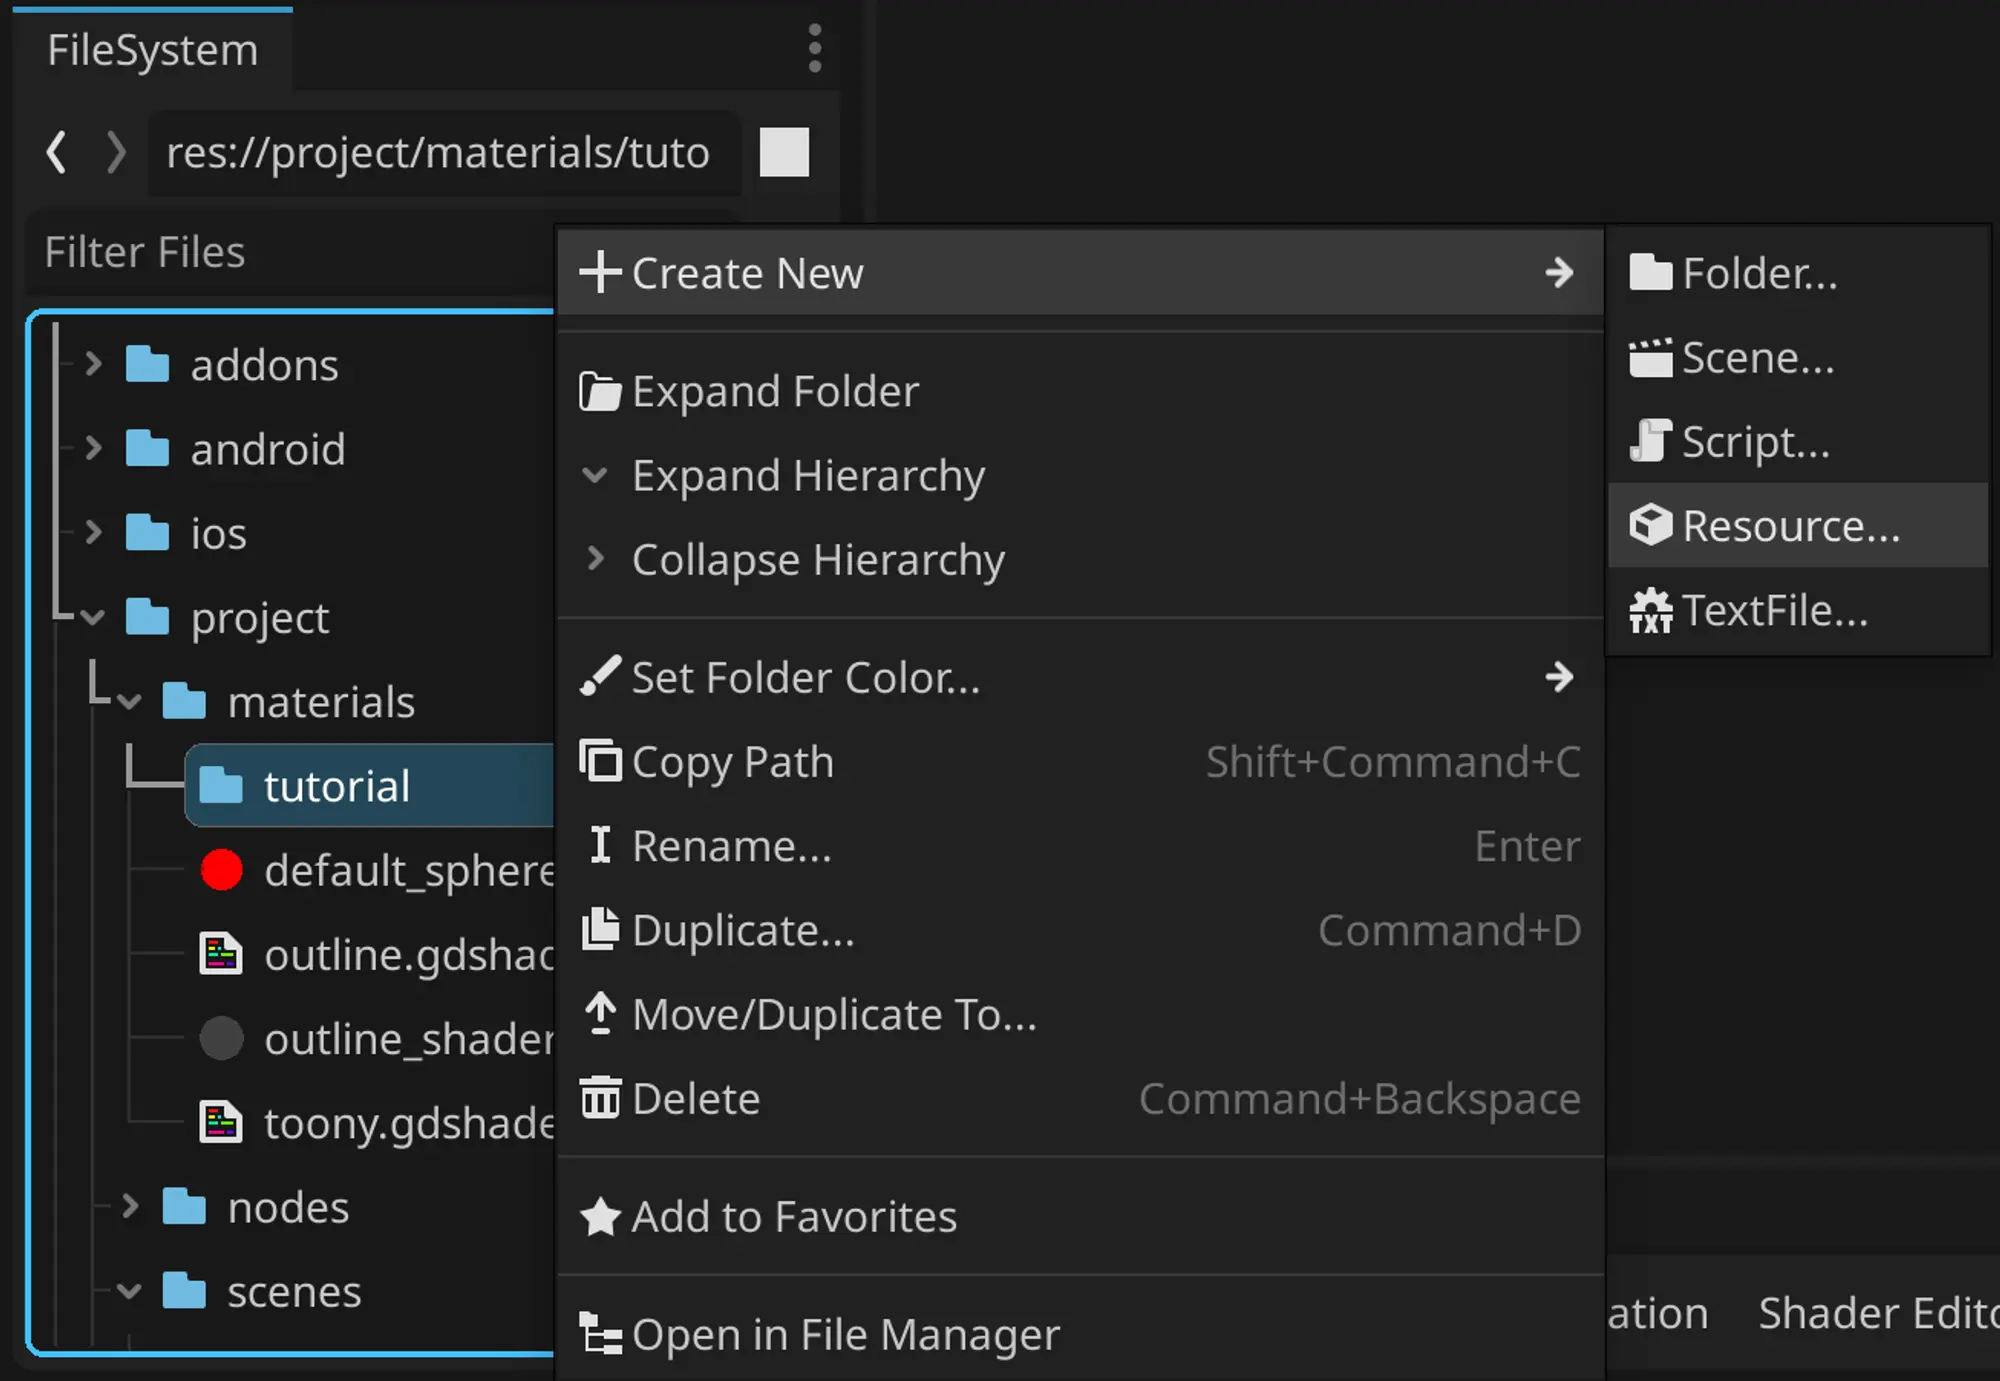 Creating shaders resource window
Then find shader type like in the image below and click it
 Shader type resource
Give it a name then create resource. I called it toon_shader
It should generate file with .gdshader extension and the following shader code
shader_type spatial;

void vertex(){
}

void fragment(){
}
Each shader has a vertexfragment
Vertex function is responsible for calculating the position of the vertices in the world space into screen space
Fragment function is responsible for drawing pixels on computer screens. The basic flow looks like in the image below:
 The flow of shader programs
How to assign custom shader to a material in Godot?
To use a custom shader, we need to assign it to a new material. To do that:
Create a material resource:
 Custom material resource creation
Find ShaderMaterial and use it to create a new resource
 ShaderMaterial resource image
Then in the material inspector, put your custom shader there:
 Material shader set
I created a scene like in the image below, and put the custom shader on the sphere.
 Example scene with custom shader
How to add custom lighting to Godot shaders?
To incorporate custom lighting into our shader, we must override the lightDIFFUSE_LIGHT
void light(){
	float nDotL = dot(NORMAL, LIGHT);

	vec3 result = vec3(nDotL);
	DIFFUSE_LIGHT = result;
}
In the code above, we assign the result of the dot product between Normal and Light direction to the DIFFUSE_LIGHT
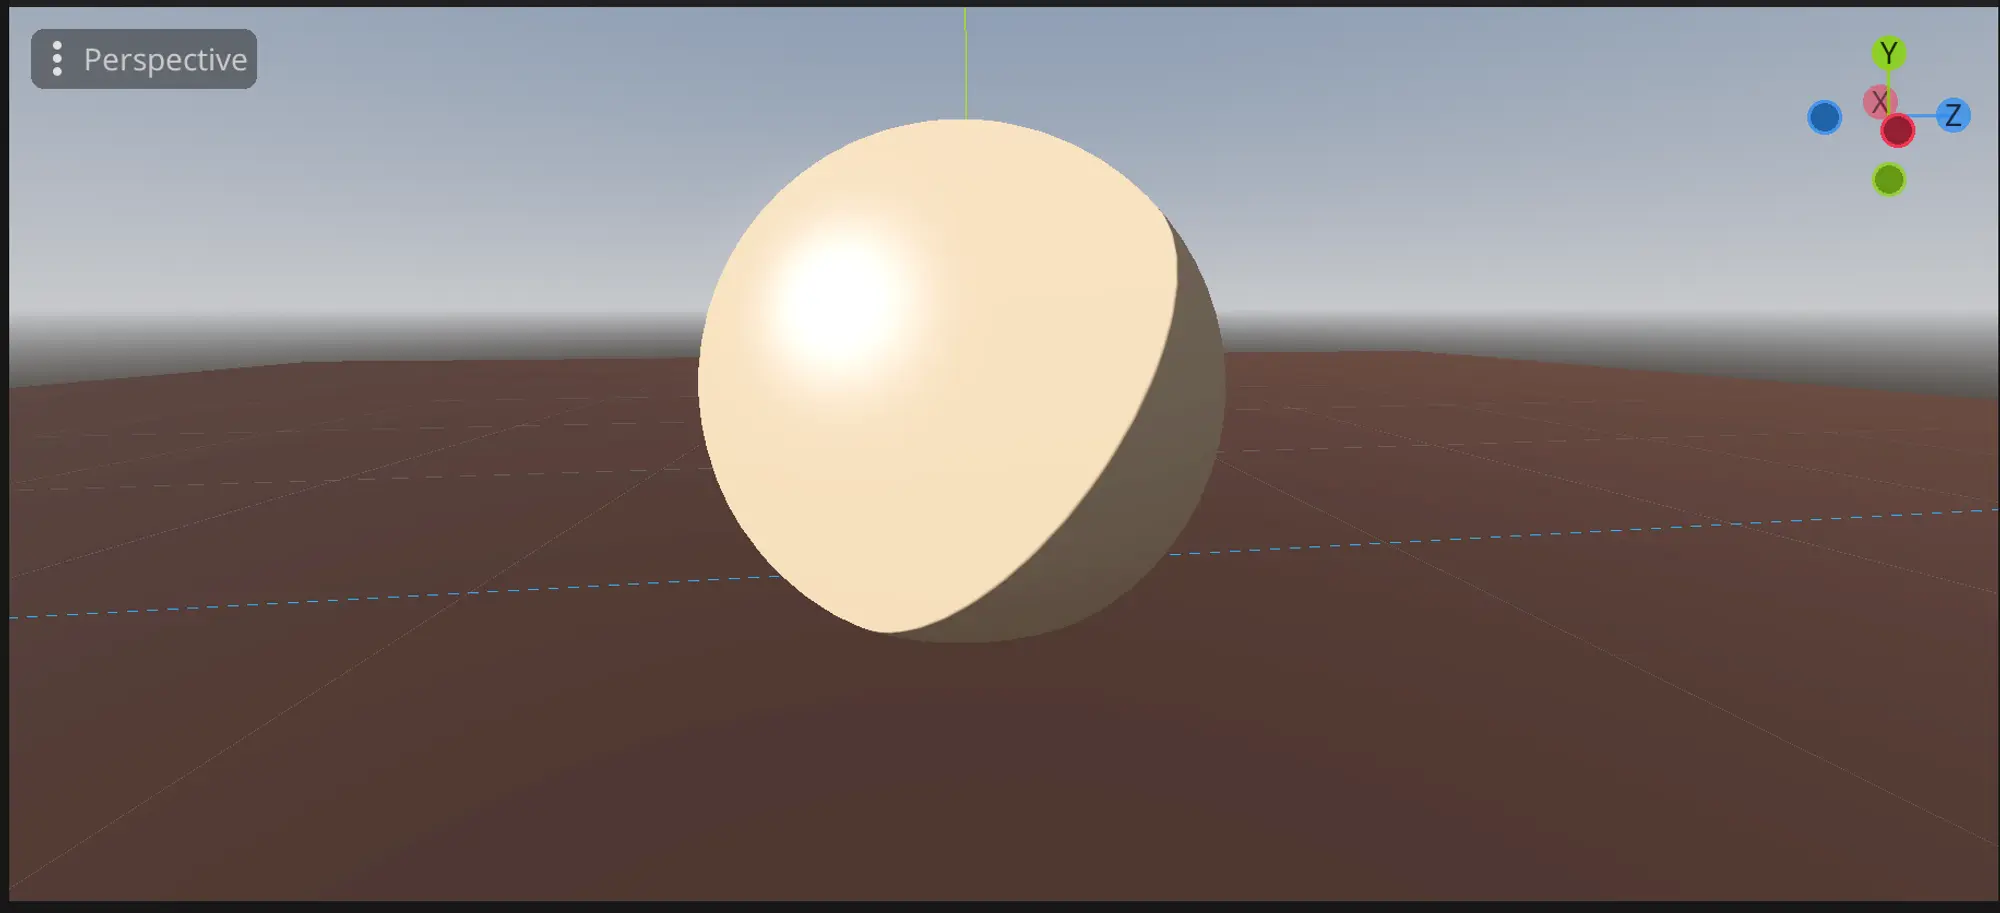
You should get the following result if you have been following along.
 Simple lighting in custom shader result
To have better control over the scene lighting I added DirectionalLight3D node and changed its direction.
Improving the shader
As you can see with simple dot product we have really black shadows. To fix it we can just clamp the result between 0 and 1
void light(){
	float nDotL = clamp(dot(NORMAL, LIGHT), 0.0, 1.0); // add clamp

	vec3 result = vec3(nDotL);
	DIFFUSE_LIGHT += result; // change to addition
}
I also changed DIFFUSE_LIGHT
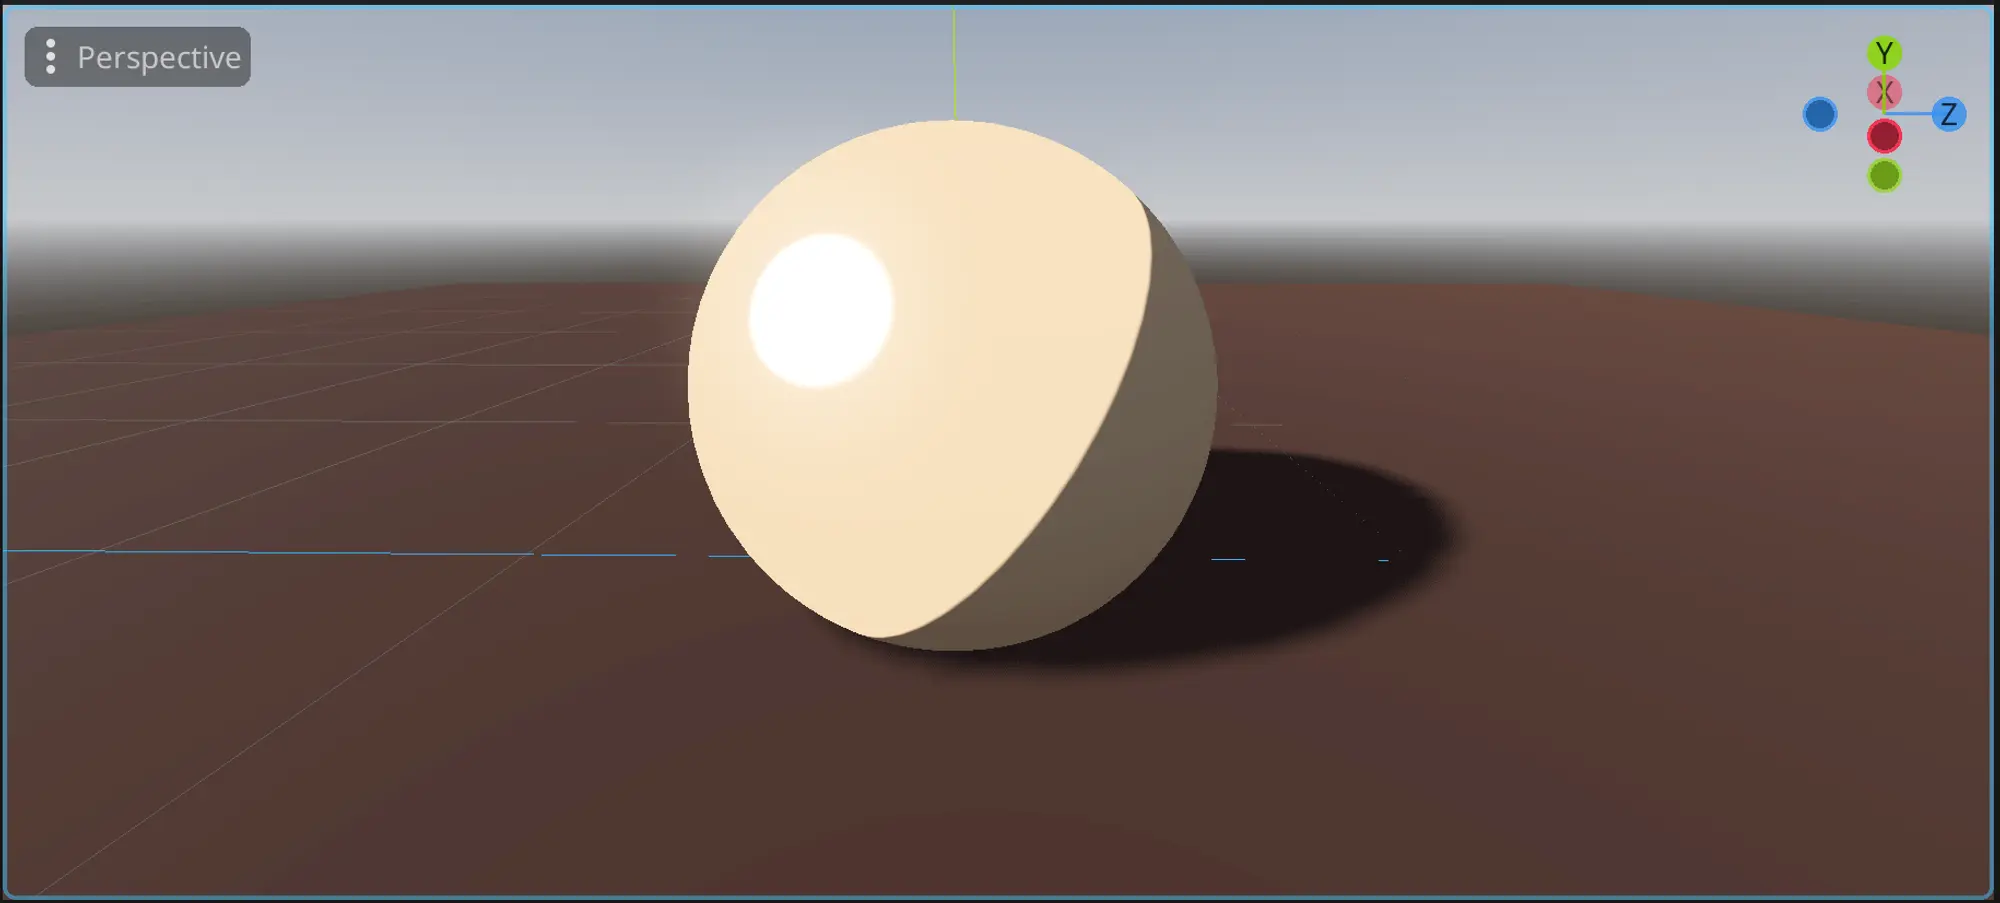
So the result should look something like that:
 Result of clamp
Next we can add smoothstep function after the calculation of the dot product between normals and light direction, and that will give us our toon shader look
void light(){
	float nDotL = clamp(dot(NORMAL, LIGHT), 0.0, 1.0);
	nDotL = smoothstep(0.01, 0.1, nDotL); // Add smoothstep
	vec3 result = vec3(nDotL);
	DIFFUSE_LIGHT += result;
}
This should give us result like this:
 Result of a smoothstep
You can play around with smootsteps first and second arguments to get something that you like. I decided to set it to 0.01 and 0.03, that gave the following look:
 Result of a smoothstep
How to set color to the custom Godot shader?
Currently, the sphere is just a plain white sphere. To make it more interesting and to demonstrate other features, we need the ability to control its color. Therefore, let's alter the fragmentALBEDO
uniform vec3 mainColor : source_color;

void fragment(){
	ALBEDO = mainColor;
}
As you can see I added uniform of type vec3 with source_color hint. This exposes the variable for editing, and if you go back into material properties, then you will see that a new field with the name Main Color is added.
 Exposes color for material
I chose a color that resembles a skin, but you can select a different one. Here is my final result:
 Final result of a color change
How to add specular highlights to a custom shader in Godot?
Next we need to add specular highlights to our shader. It is quite easy for that we need camera view direction. Here is the code with explanation:
void light(){
	float nDotL = clamp(dot(NORMAL, LIGHT), 0.0, 1.0);
	nDotL = smoothstep(0.01, 0.03, nDotL);

	// We add view direction with light direction
	vec3 addedCam = normalize(VIEW + LIGHT);
	// Then we calculate dot product with normals and clamp it
	float vDotL = clamp(dot(NORMAL, addedCam), 0.0, 1.0);
	// calculate the power of vDotL to create highlight sphere
	vDotL = pow(vDotL, 40);

	vec3 result = vec3(nDotL);
	DIFFUSE_LIGHT += result;
	// Assign specular lights that we calculated
	SPECULAR_LIGHT += vDotL;
}
Now it should like in the image below:
 Result of specular highlights
Notice how small white highlight is added.
We can also use smoothstepvDotL variable to give some sharpness and stylization.
void light(){
float nDotL = clamp(dot(NORMAL, LIGHT), 0.0, 1.0);
nDotL = smoothstep(0.01, 0.03, nDotL);
vec3 addedCam = normalize(VIEW + LIGHT);
float vDotL = clamp(dot(NORMAL, addedCam), 0.0, 1.0);
vDotL = pow(vDotL, 40);
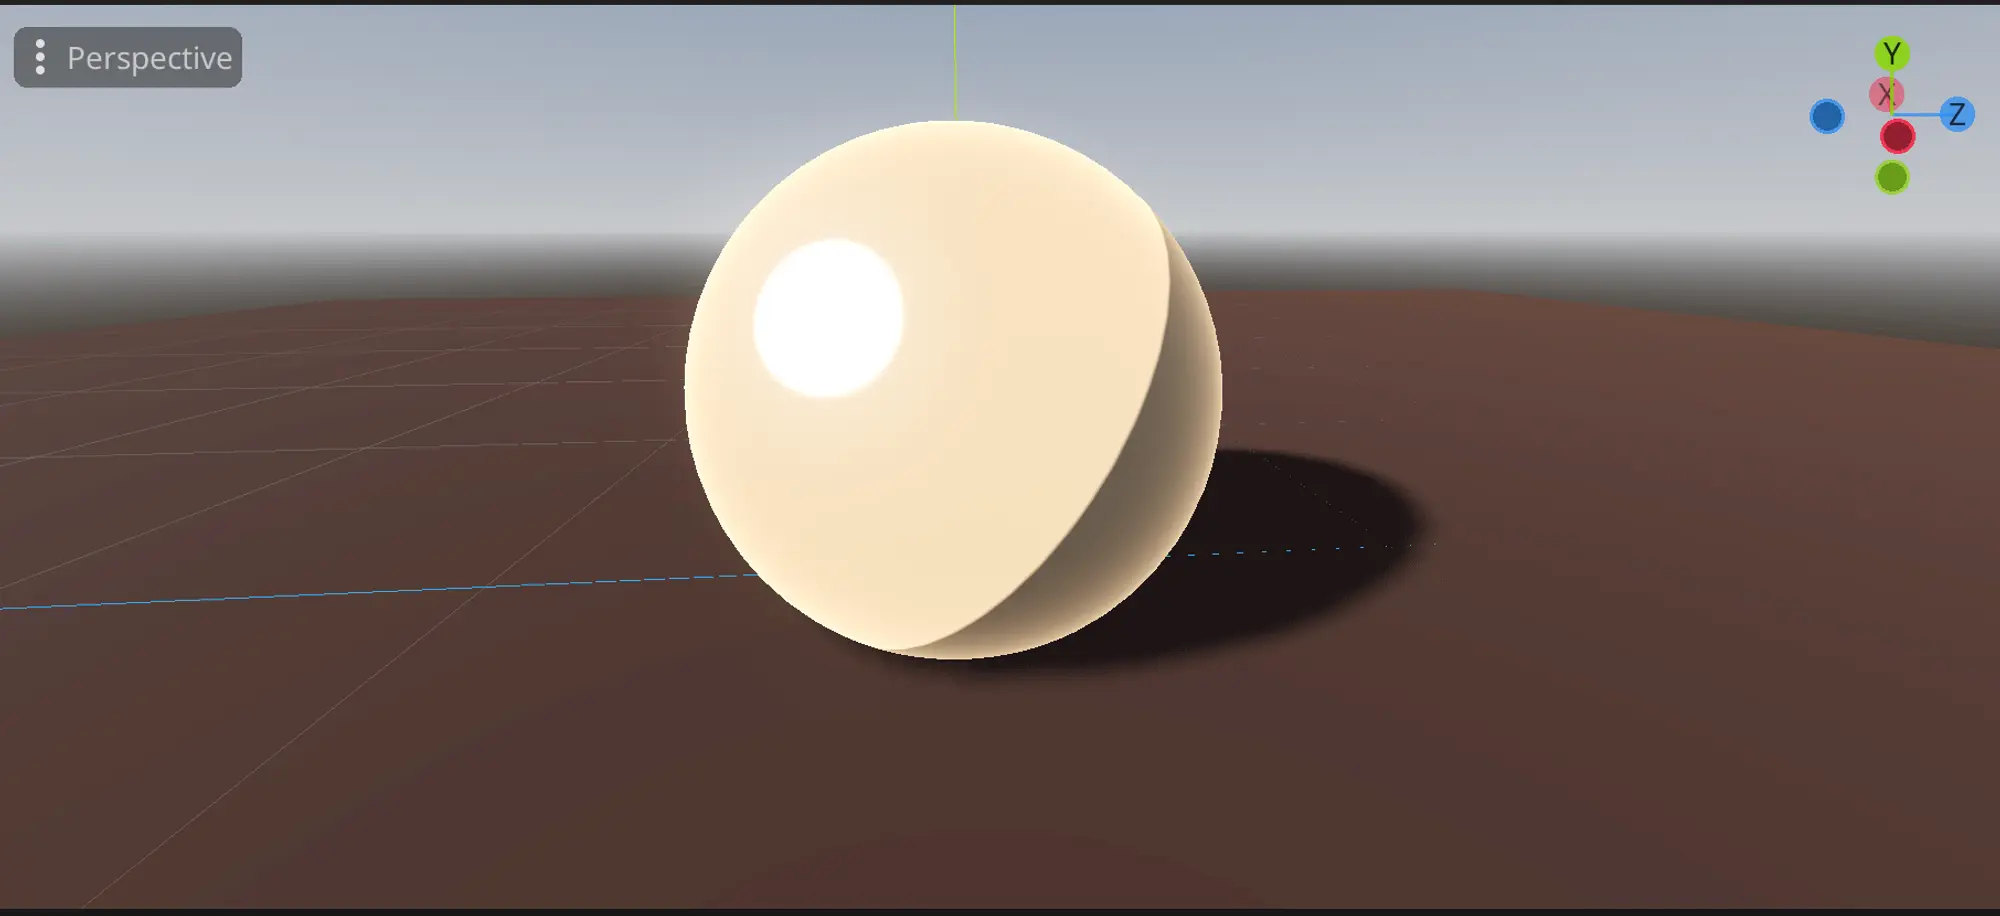
vDotL = smoothstep(0.06, 0.1, vDotL); // add smoothstep
vec3 result = vec3(nDotL);
DIFFUSE_LIGHT += result;
SPECULAR_LIGHT += vDotL;
}It should look like something like this:
 Result of smoothstep
Play around with variables of specular highlights until you achieve something you like.
How to add rim lighting to a custom shader in Godot?
We now have our toon shading with specular highlights, the next step is adding some backlight to our shader. It helps to emphasize the shape of the model and gives some unique look.
void light(){
	float nDotL = clamp(dot(NORMAL, LIGHT), 0.0, 1.0);
	nDotL = smoothstep(0.01, 0.03, nDotL);

	vec3 addedCam = normalize(VIEW + LIGHT);
	float vDotL = clamp(dot(NORMAL, addedCam), 0.0, 1.0);
	vDotL = pow(vDotL, 60);
	vDotL = smoothstep(0.06, 0.15, vDotL);

	// Here is the formula for calculating the rim light
	float rimLight = dot(NORMAL, VIEW);
	// We add pow function to further separate values between 0 and 1
	rimLight = pow(1.0 - rimLight, 4);
	// we add it to our diffuse result
	vec3 result = vec3(nDotL) + rimLight;
	DIFFUSE_LIGHT += result;
	SPECULAR_LIGHT += vDotL;
}
With that we get the following result:
 Result of rim light
Notice the glow like effect around the whole object. Currently, we need rim light to affect only the parts that are not shaded. To do that we will use our nDotL variable that we calculated before:
void light(){
	float nDotL = clamp(dot(NORMAL, LIGHT), 0.0, 1.0);
	nDotL = smoothstep(0.01, 0.03, nDotL);

	vec3 addedCam = normalize(VIEW + LIGHT);
	float vDotL = clamp(dot(NORMAL, addedCam), 0.0, 1.0);
	vDotL = pow(vDotL, 60);
	vDotL = smoothstep(0.06, 0.15, vDotL);

	float rimLight = clamp(dot(NORMAL, VIEW), 0.0, 1.0);
	// after calculating the rim light, we multiply it with nDotL
	// this cuts of values that are in shaded parts
	rimLight = pow(1.0 - rimLight, 12) * nDotL;
	rimLight = smoothstep(0.01, 0.02, rimLight);

	vec3 result = vec3(nDotL) + rimLight;
	DIFFUSE_LIGHT += result;
	SPECULAR_LIGHT += vDotL;
}
With this our shader should have the following look:
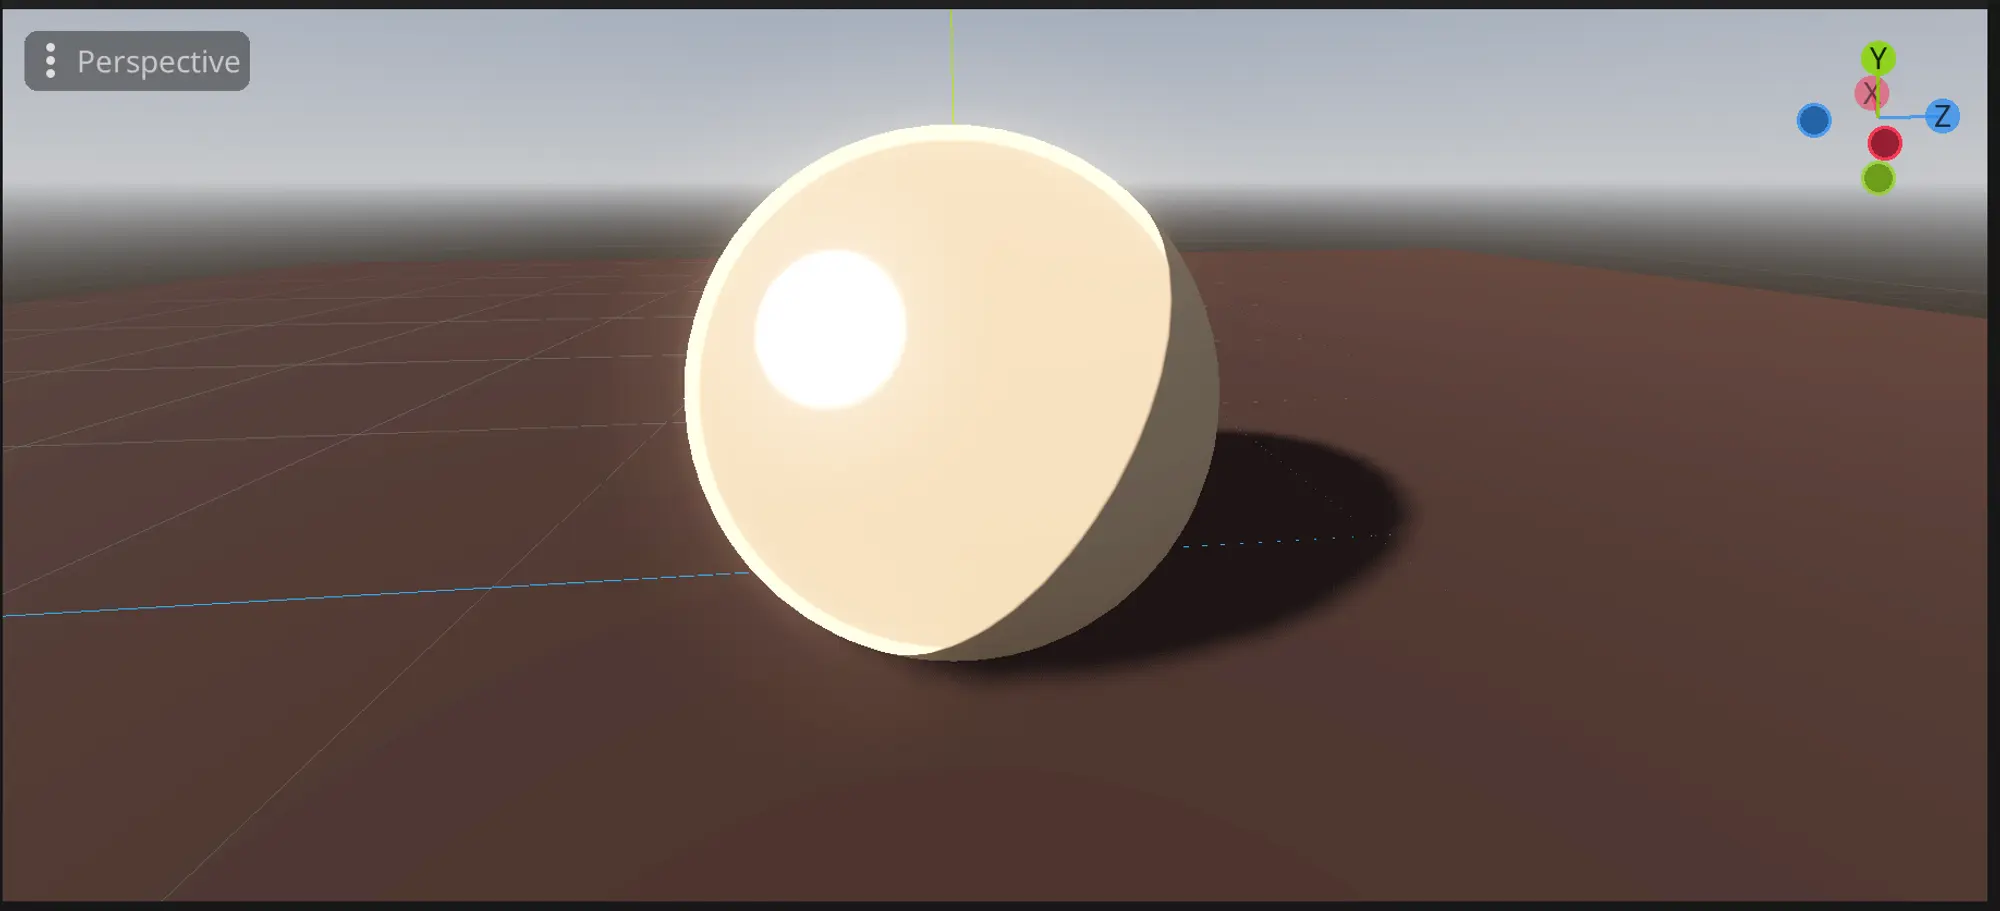 Result of NdotL
Testing out the custom toon shader
The shader that we wrote, now resembles something that Legend of Zelda uses. Lets test it on the real Link model.
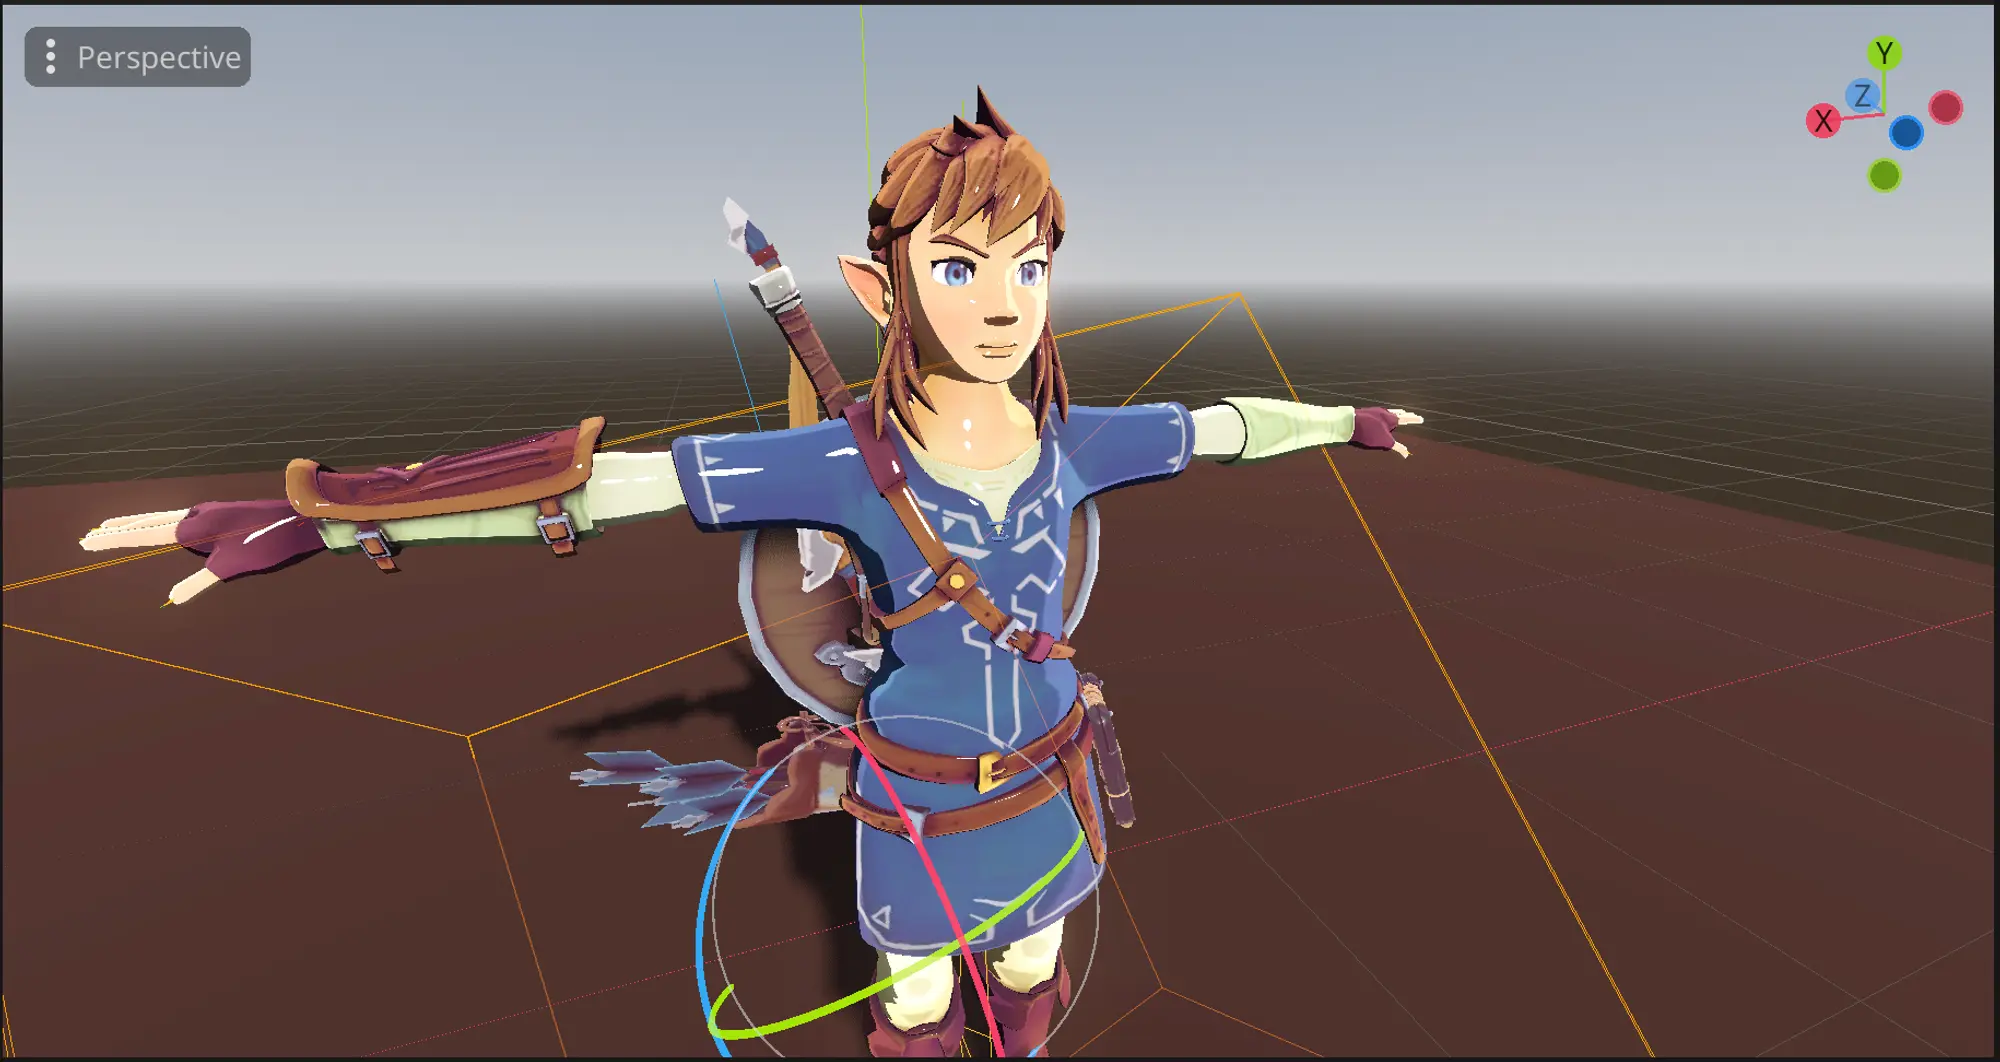 Link with custom shader
Now if we change the location where rim light is added to SPECULAR_LIGHT we achieve results like this.
 Link with rim light + specular lights
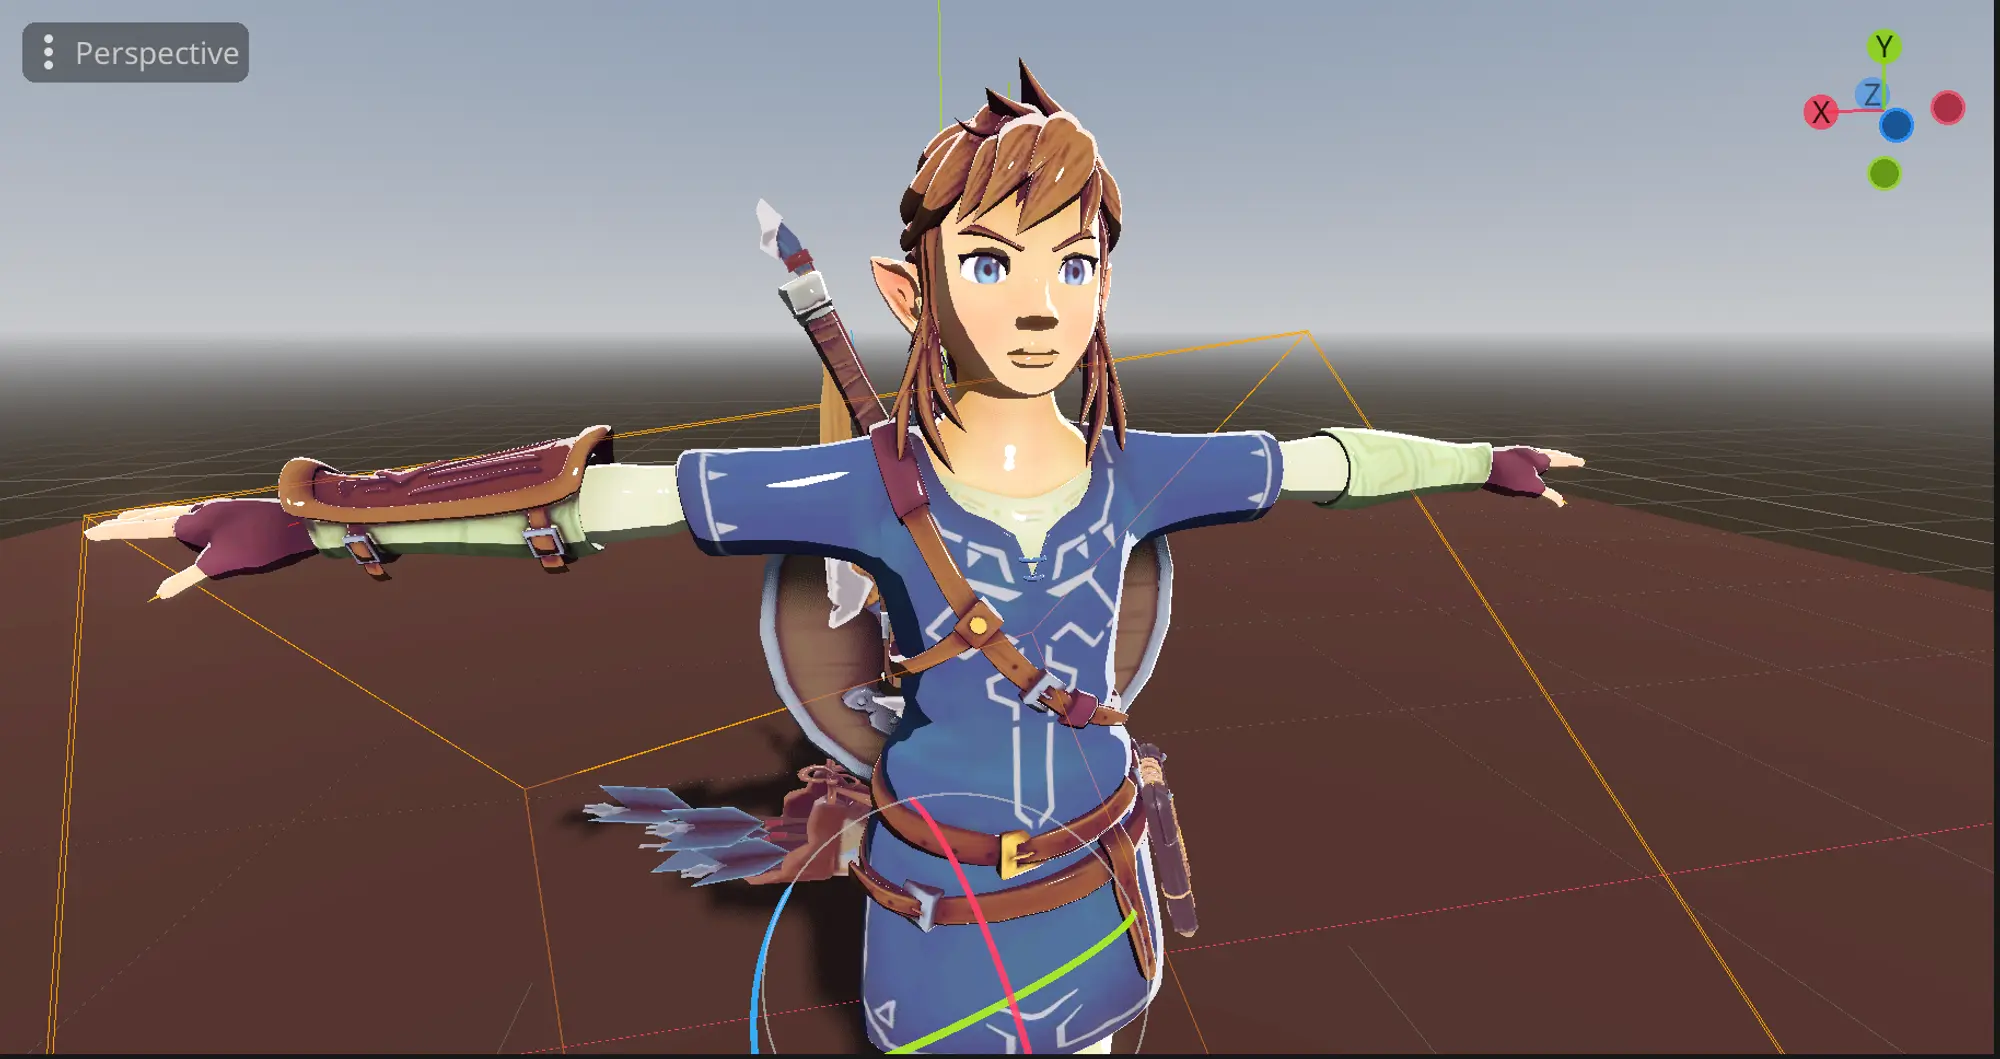
With a bit of post processing we get better results:
 End result link
It's nearly there, but we still need a few features. Specifically, we need maps to manage how each part of the shader functions. Rather than applying specular highlights to the entire model, we should control its behaviour with texture maps. We also need to modify how the model receives shadows and how it's influenced by light color.
These features will be discussed in the next part of this tutorial. Which is available here:
Liked what you read? Don't forget to upvote!

Indie developer & author of this blog. I worked in game dev studio before, and launched many games. My main focuses are core gameplay mechanics and project infrastructure management.

Download our latest game
Read next
